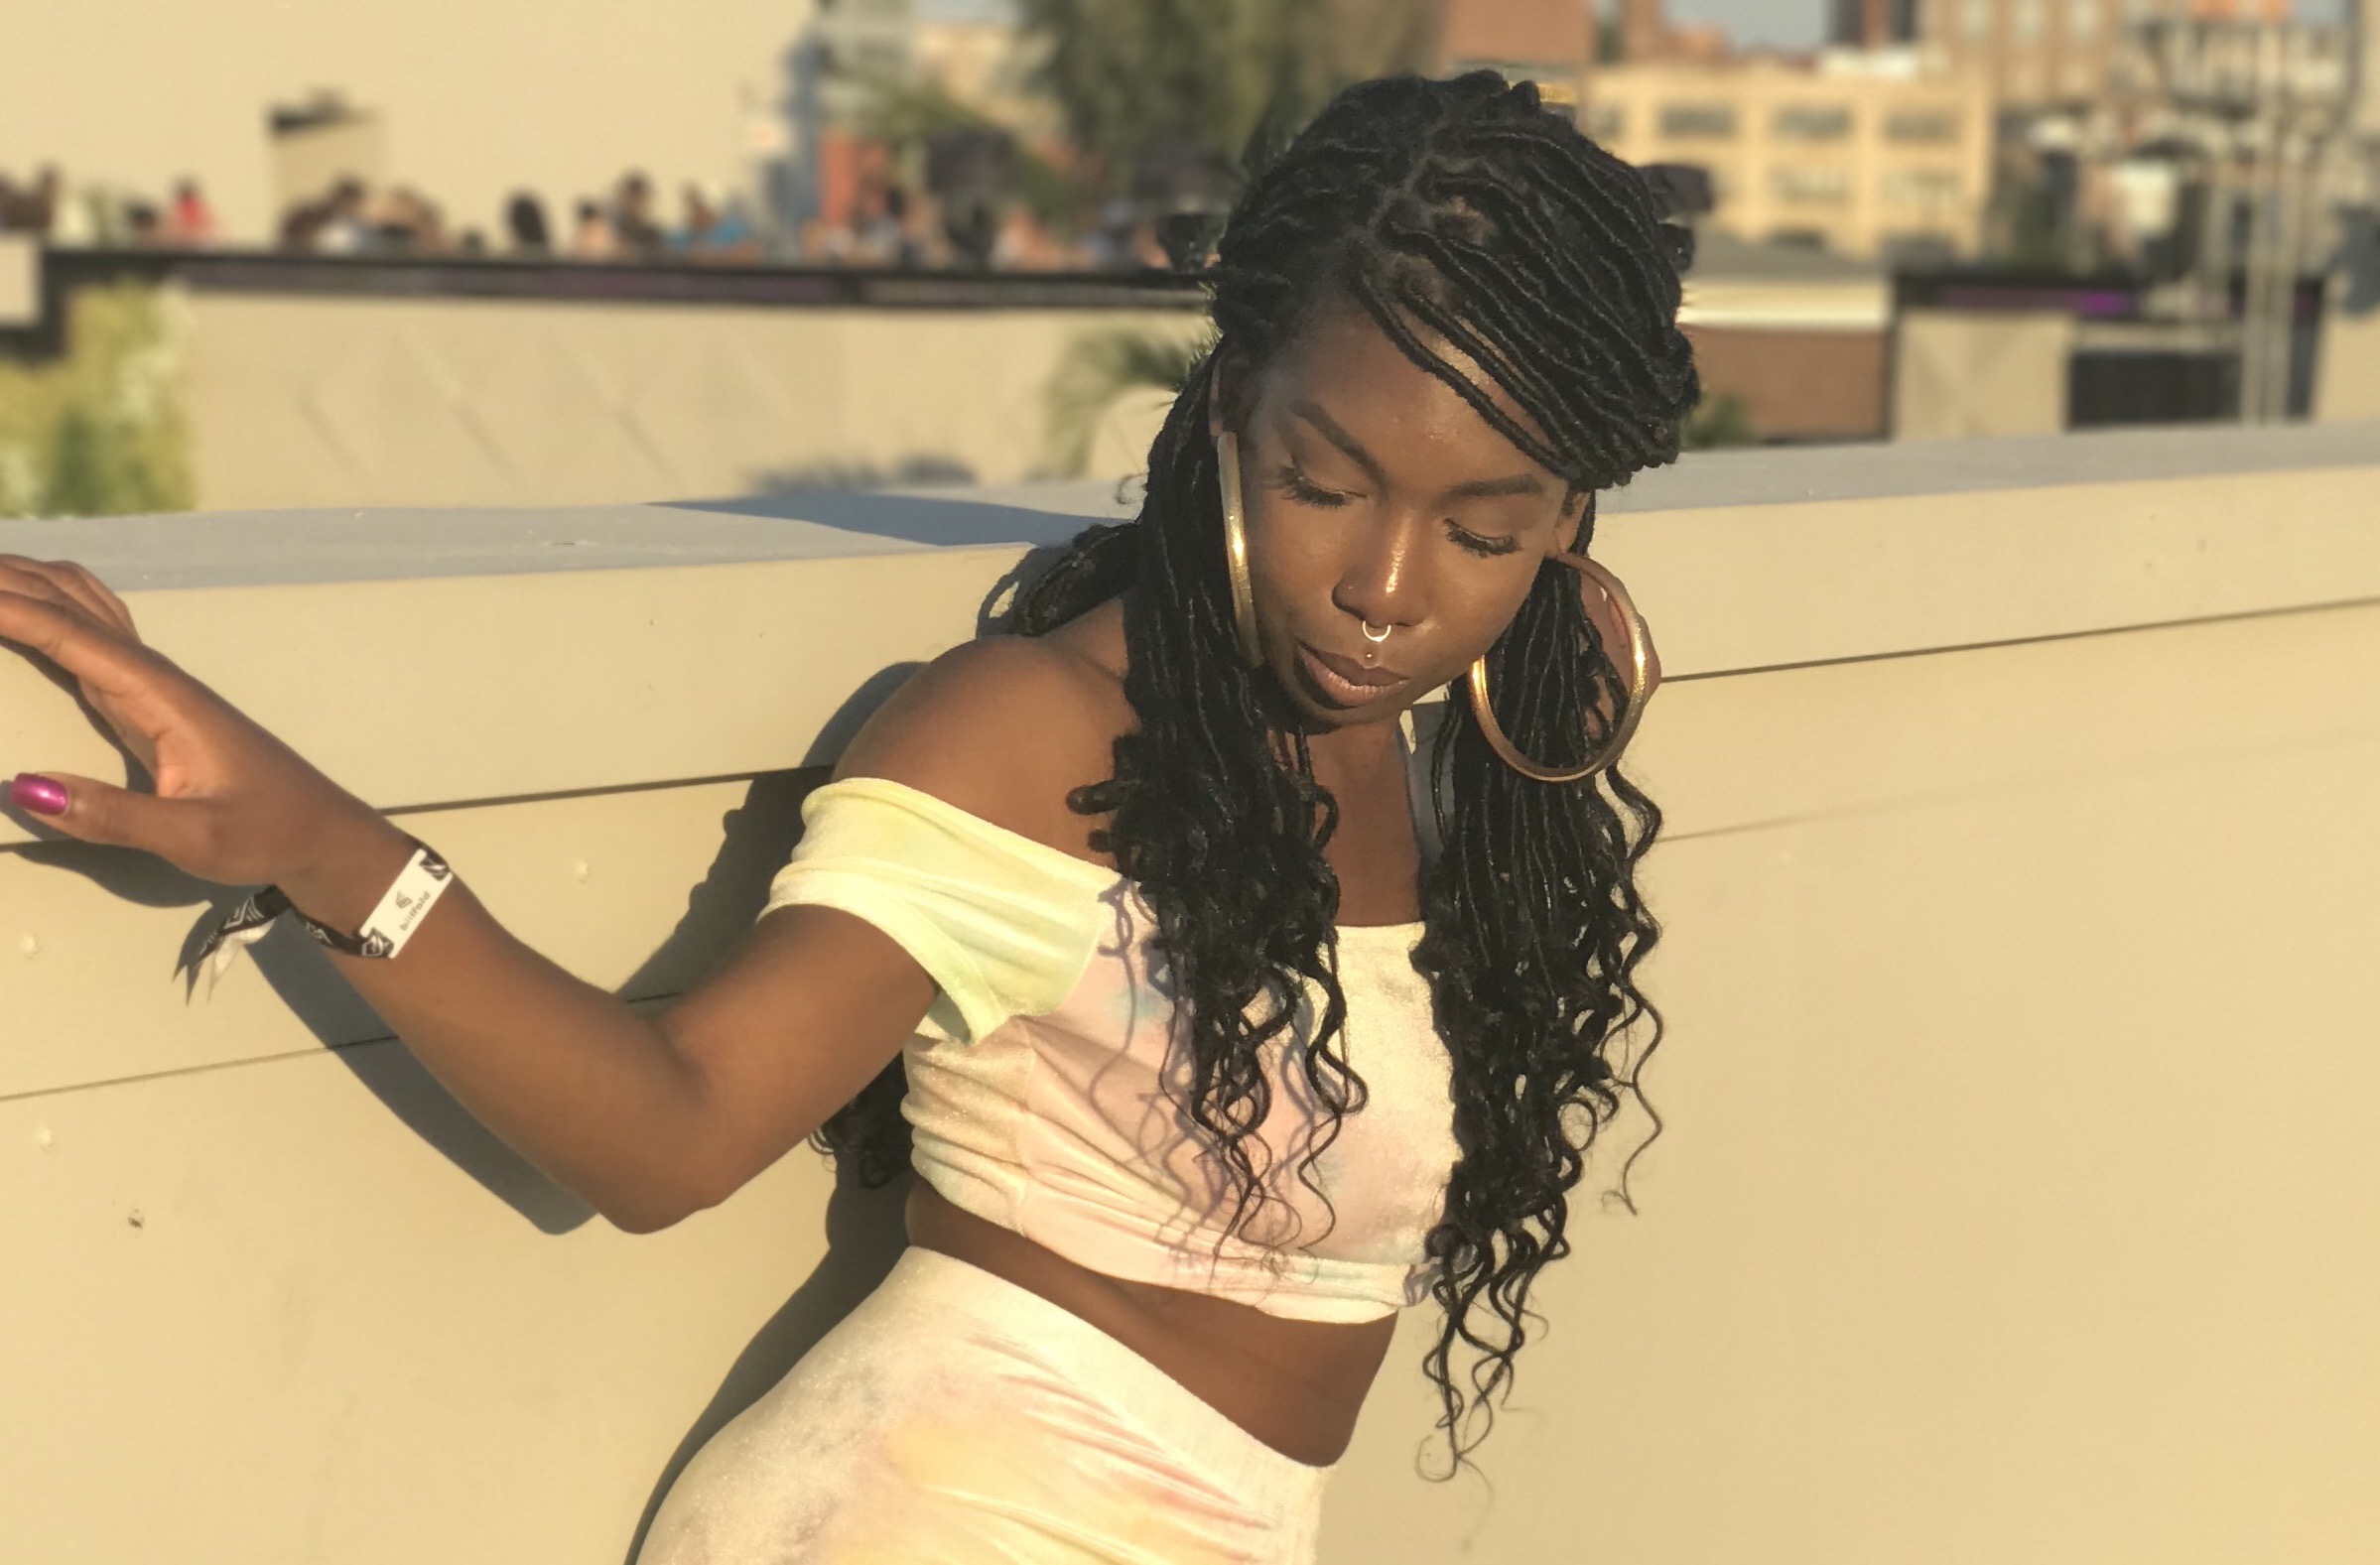
Everything You Need To Know About Goddess Faux Locs
February 18, 2021
Protective styling isn’t just a way to explore beautiful faux loc styles but has also become somewhat of a hair growth method within the natural hair community. Many women wear loc styles to protect their hair from over-manipulation, harsh environmental conditions, and as a way to maintain overall hair health. There are several ways to style locs, but we’re giving you everything you need to know about goddess locs.
First things first, what are goddess locs? It’s simply a loc style that uses a silkier type of hair and has loose curly ends. Many stylists have their own technique to create this look, so I caught up with New York City hairstylist, Kimmy, to find out how they differ from other loc styles and how they can promote hair growth.
How to do Goddess Faux Locs
How would you describe your approach to haircare and styling?
I love protective styling because most of my clients’ goal is to grow long healthy hair and it helps a lot with that. I’m always an advocate for taking care of your natural hair. From when I started doing hair to the present day, it’s been a huge transition from relaxers/texturizers to more people wearing their natural hair, so I just want them to be educated in learning their hair and taking care of it properly.
Who are goddess locs for? Would you recommend them to all of your clients?
It’s mostly for everyone. I wouldn’t recommend it for people with weaker/damaged hair or thinning edges. Nor for people with naturally straighter textures, it doesn’t last as long but I’m working on incorporating some techniques for that.
What are the best products, hair, and tools to use when creating goddess locs?
For the hair, I use either a water wave texture (for straighter hair types) and spring twist hair (for coarse textured hair). For products, I keep it simple with just a mousse and hairspray to finish which can also be used for maintenance. For tools, I only use a crochet needle.
Can you walk me through the steps of creating goddess locs?
Step 1: I braid my client’s natural hair in single braids using more of a round part because to me it’s more natural for a loc look (box parts are also available if that is your preference). The amount of single braids ranges from 40-50 depending on their head size and density.
Step 2: I crochet two strands of the hair that I am using into the top of the braid and begin with one strand to wrap the top base a couple of times and that is what’s going to hold everything in place.
Step 3: I continue with both strands to wrap the length of the loc and randomly throw in my thumb to create the “butterfly” effect. For regular locs you would just leave out the thumb part.
Step 4: I add hair until I reach the desired length and then begin wrapping the remainder up the loc and palm roll it. [Then] it kind of creates its own seal.
The one key [thing] I would say is to wrap loosely but not to loose. After practicing a couple of times you get the hang of it. The great thing about doing this style is that you don’t have to be perfect so you don’t have to be concerned with making everything pretty.
When it comes to loc styles, what makes goddess locs so different?
The only difference for goddess locs is that curly/wavy hair is added but other than that it’s the same technique. I would say the protective style you use really depends on what’s going on with your hair at the moment. Not every protective style is made for everybody. I have clients with alopecia so they know they cannot do styles where their scalp is too heavily exposed in certain areas so they lean more towards crochet options. If I had a client with thinner/weaker edges and they wanted knotless braids they would go for a bigger size to not have the weight of the braid on a smaller portion of hair. It just all depends.
How long does it take to style goddess locs?
Anywhere from three and a half to seven hours depending on the length and the amount of locs.
How long do goddess locs last?
Four months is the longest I would suggest someone keep them in with a maintenance appointment at the two-month mark. Maintenance includes me removing the build up at the base of the loc, wash, and drying under the hooded dryer to make sure they are completely dry to avoid any molding. Then wrapping the new growth with small pieces of hair. If any locs needed to be repaired it would be done at this time also.
What are the maintenance requirements for this style? How do you recommend ways for clients to maintain them?
I would never suggest clients wash this style themselves. I know a lot of people aren’t patient with the drying process and will just skip it. [It can] lead to more problems down the road so I always just suggest my no-wash method. I advise them to just use a wash rag and witch hazel to go in and clean their scalp. Then follow up with a scalp tonic, leave-in conditioner, oil, mousse, hairspray, and head tie.
How much does it cost to install goddess locs?
Anywhere from $220-$380 depending on the length. It is extra for treatments and soaking [and] the hair is included in the price.
Hair by Kimmy offers a variety of services from natural hair care, crochet, braids, locs, and more. Keep up with her on Instagram.